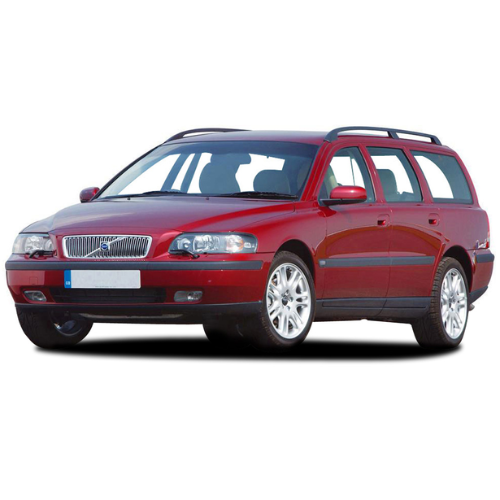
The Volvo S60, V70 and XC70 built between 2000 and 2008 are all based on the Volvo P2 platform and have very similar audio systems. Effectively the S60 is the saloon version, the V70 is the estate and the XC70 (called V70 XC until 2003) was the crossover of the same car.
THe design of these vehicles was almost complete when Ford bought Volvo in 2000 and then they were the first cars launched under the new ownership. They sold well and were praised for looking much sleeker than the previous boxy Volvos while retaining the high load area and high safety standards.
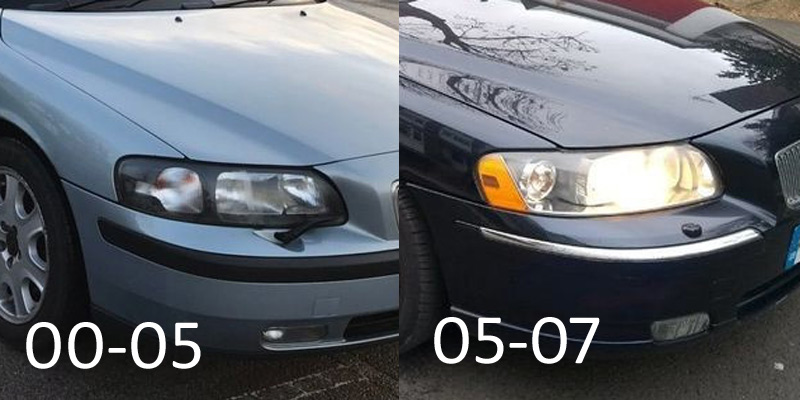
A facelift in 2005 lightly refreshed both the exterior and interior. While the changes are subtle, the two can be easily distinguished. The earlier cars have black plastic rubbing strips on the bumpers and clear front indicators. The facelift cars have chrome embellishments on the bumpers and orange front indicators.
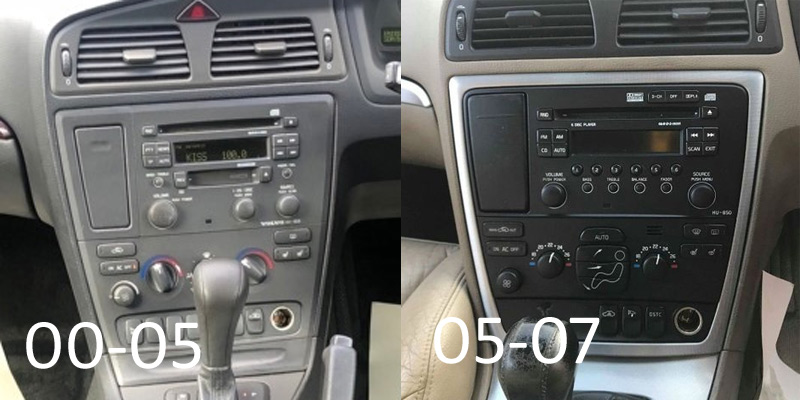
Earlier cars have a grey radio and air con panel whereas later cars have a black radio and air con panel with a trim panel around the outside that is usually silver or wood effect.
Changing the original radio:
Parts required
Individual parts:
- Fascia panel (00-05) (FSC-VOL-003) or Fascia panel (05-08) (FSC-VOL-002)
- Steering Wheel Control Interface (SWC-SS-VOL02)
-
FM antenna adapter (ANT-VOL1)
Fitting Kit:
- Radio fitting kit (2000-2005) (RFK-VOL-001) or Radio fitting kit (2005-2008) (RFK-VOL-002)
Optional Parts:
- DAB windscreen antenna (ANT-DAB1)
- Parking Sensor Retention CAN-PDC
The pre and post facelift radios are very similar, they are just a slightly different shape and colour so require a different fascia panel.
There are also two different types of original radio across both generations, the radio number is written on the bottom right of the radio, it will have either the format of HU-6XX or HU-8XX. They differ in how they drive the speakers.
There are five connections behind the radio. Two 12 pin connections in green and grey, the green is for powering the radio and the grey is for the speakers, one 2 pin grey connector for the FM antenna and two round DIN connectors, an 8 pin for an origins CD changer (which can be ignored) and a 6 pin which runs the speakers on amplified models.
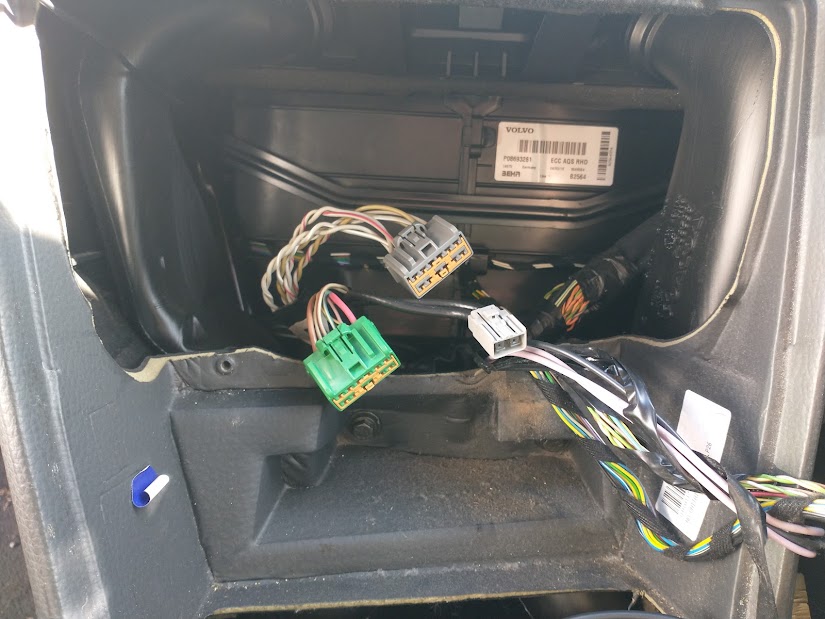
The HU-6XX will either be non-amplified or be partially amplified.
If it is non-amplified then it will have only the two 12 pin connections and the FM antenna connector.
If it is partially amplified then it will have the above and the 6 pin DIN connection to the amplifier.
The HU-8XX is fully amplified so does not have the 12 pin grey connector.
Luckily it doesn’t matter which version you have as the steering wheel control interface (available here) has options for all the versions. It also includes a CANBUS module to power the radio and give reverse, speed-pulse and handbrake outputs that are required on many aftermarket sets with navigation, apple carplay or for activating a reverse camera.
This interface does need a universal patch lead to be pinned and dip switches setting to suit the car and radio type fitted. Instructions are provided to assist with this.
NOTE: When removing the original radio, the air con panel needs to be moved out of the way. Make sure not to disconnect the air con panel unless the battery is disconnected first or the airbag light will illuminate.
If the car was fitted with parking sensors then these will also be lost when the original radio is removed. A second interface (available here) is required to retain them, this needs to be hardwired into the CAN wires of the car (the green and white twisted pair in the green connector) and also to a 12v power source (available from the loose red wire from the steering wheel control interface) and a ground, which in most cases can be the chassis of the new radio.
No matter which version you have, you will need this FM antenna adapter, available here.
Finally you will need the fascia panel, these suit either single or double DIN radios with an optional pocket provided for single DIN radios.
The fascia panel for earlier (2000 – 2005) cars uses side fixing brackets to securely fit the new radio and that fitting cage that should come with the radio is not required. Available here.
The panel for later (2005 – 2008) cars fits the radio using the single or double DIN cage that came with the radio. Available here.
These parts come in two complete fitting kits. The pre-facelift kit is available here. The pos-facelift is available here. Neither kit includes the parking sensor interface which will need to be purchased separately if required.
Make sure any required DAB antennas, microphones, USB cables or other required cables are attached to the back of the radio before it is fitted into the dashboard.
Notes on fitting radio with DAB:
If fitting a radio with DAB, you will either need a new DAB antenna.
The most common and cheapest DAB antenna is fitted to the windscreen. We have these available here. The reception of these antennas is good where DAB reception is strong but outside of cities there will be large areas with no reception.
An alternative is to fit an entirely new roof antenna which is a much more involved process. These vary in quality greatly, and we are working on sourcing quality DAB antennas.
An FM antenna adapter will still be required if a windscreen antenna has been fitted, most aftermarket roof antennas should work with FM and DAB.
Changing the speakers:
Parts required
- Front speaker adapter panels (SPR-VOL-001)
- Rear speaker adapter panels (SPR-VOL-002)
- Rear shelf adapter panels (SPR-VOL-003) Volvo S60 only
- Speaker adapter cables (SPL-VOL-004)
- Tweeter adapter cables (SPL-VOL-003)
- Rear shelf adapter cables (SPL-VOL-001) Volvo S60 only
The original woofers are in the front doors and rear doors with tweeters in the front doors.
On the S60 there are further speakers in the parcel shelf whereas the V70 and XC70 have a pair of small speakers in the rear pillars next to the tailgate.
The front door speakers and tweeters can be accessed by removing the door cards which are held on by a series of plastic trim clips around the outside edge and two T25 torx head screws inside the door pull. Remove the plastic clips by partially pushing in the centre part with a small screwdriver.
The rear doors are similar but with only one torx screw behind a small cover in the door pull.
The woofers in all doors are riveted in, four on the front doors and three in the back doors. The rivets will need to be drilled out to remove them. We have adapter panels to fit 165mm speakers to the front doors here and ones for the rear doors here.
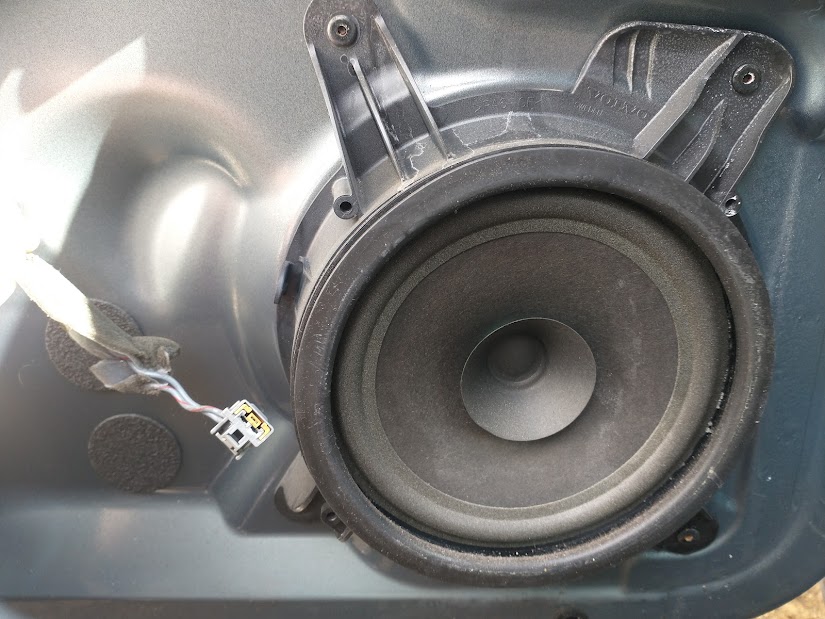
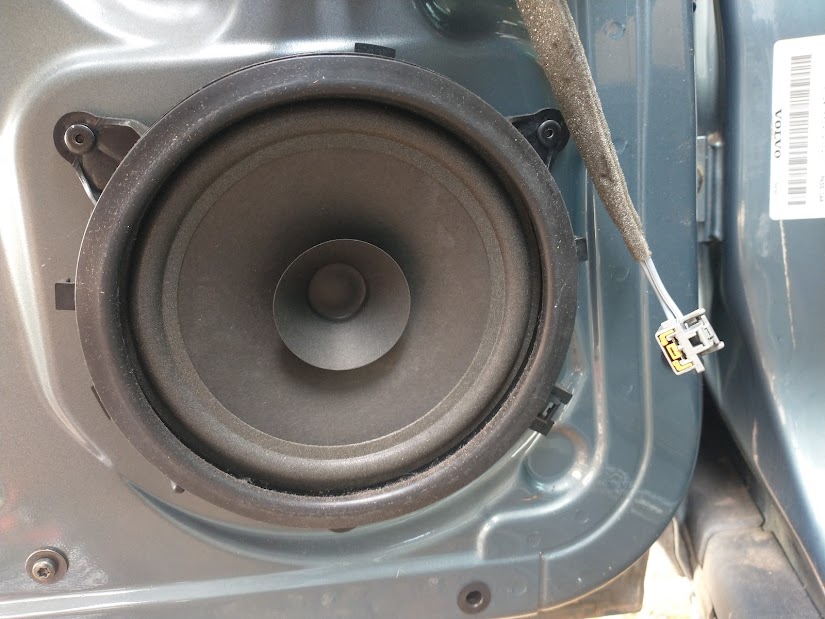
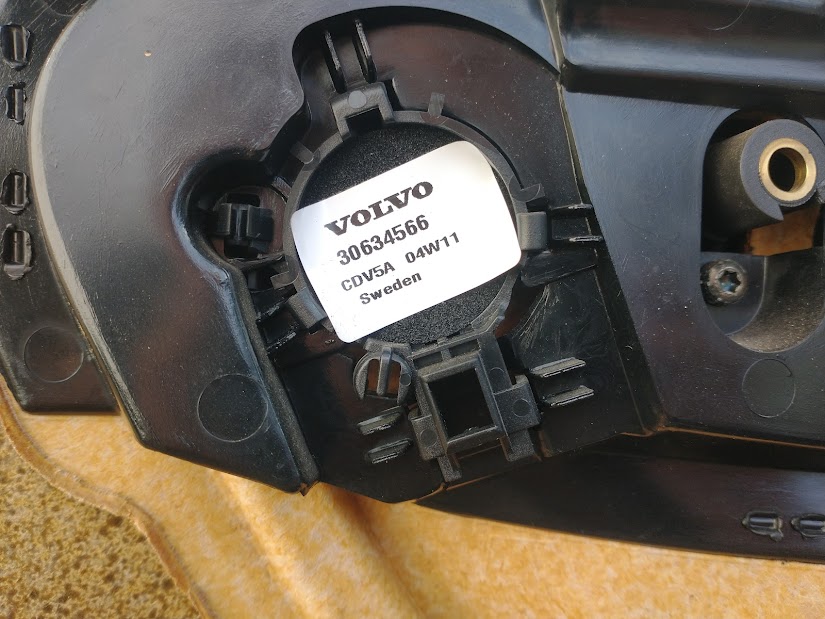
The tweeters in the front doors are clipped into door cards. On cars with basic audio there may be no tweeters, but the wiring will still be there, connected to a tweeter housing that only contains a circle of foam. There are no tweeters in the back doors. We would recommend using 165mm component speakers (with separate woofers and tweeters) in the front and 165mm coaxial (with combined woofers and tweeters) in the rear.
We have adapter cables for the woofers here and tweeter adapter cables here. There are no adapter panels available for tweeters so some modification will be needed to fit them into the original locations.
On the Volvo S60, the speakers in the parcel shelf can also be replaced with 165mm coaxial speakers. The originals are bolted in rather than riveted. There are adapter panels available here and cables available here.
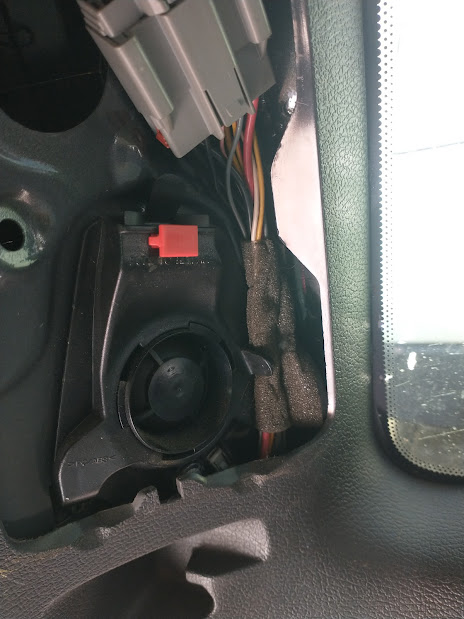
On the Volvo V70 and XC70 the small speakers in the rear are behind the clipped in speaker covers on the pillars. To remove the speaker the red tab needs to be pulled out and then the speaker can be unclipped and removed. This speaker is an unusual size but could be replaced with small mid or full range speakers with some modification. No adapter panels are available but they use the same cable type as the front tweeters available here.

0 Comments