
The heavily refreshed sixth generation Ford Escort kept Ford’s mid-range offering competitive after the disappointment of the fifth generation while they waited for the Focus to replace it.
As before it came as a three or five door hatchback, an estate, cabriolet and van. This time the saloon was incorporated into the Escort range and the Orion name was retired. The Escort was sold alongside the new Focus for a couple of years to give those who found the Focus’s styling too scary a more conventional (and cheaper) offering.
While not as common as they once were, enough Ford Escorts were made that they are still a relatively frequent sight on the roads. If yours is still fitted with its original audio system then there is a good chance that it will be past its best. Most came with an original cassette player, while those who had opted for luxury Ghia specification could have also optioned a CD changer in the boot. The chances of this still working are now slim and even if it does work, it will not mate up to a new head unit.

Changing the original radio:
Parts required
Individual parts:
- Fascia panel (single DIN) (FSC-FOR-001B) or Fascia panel (double DIN) (FSC-FOR-005)
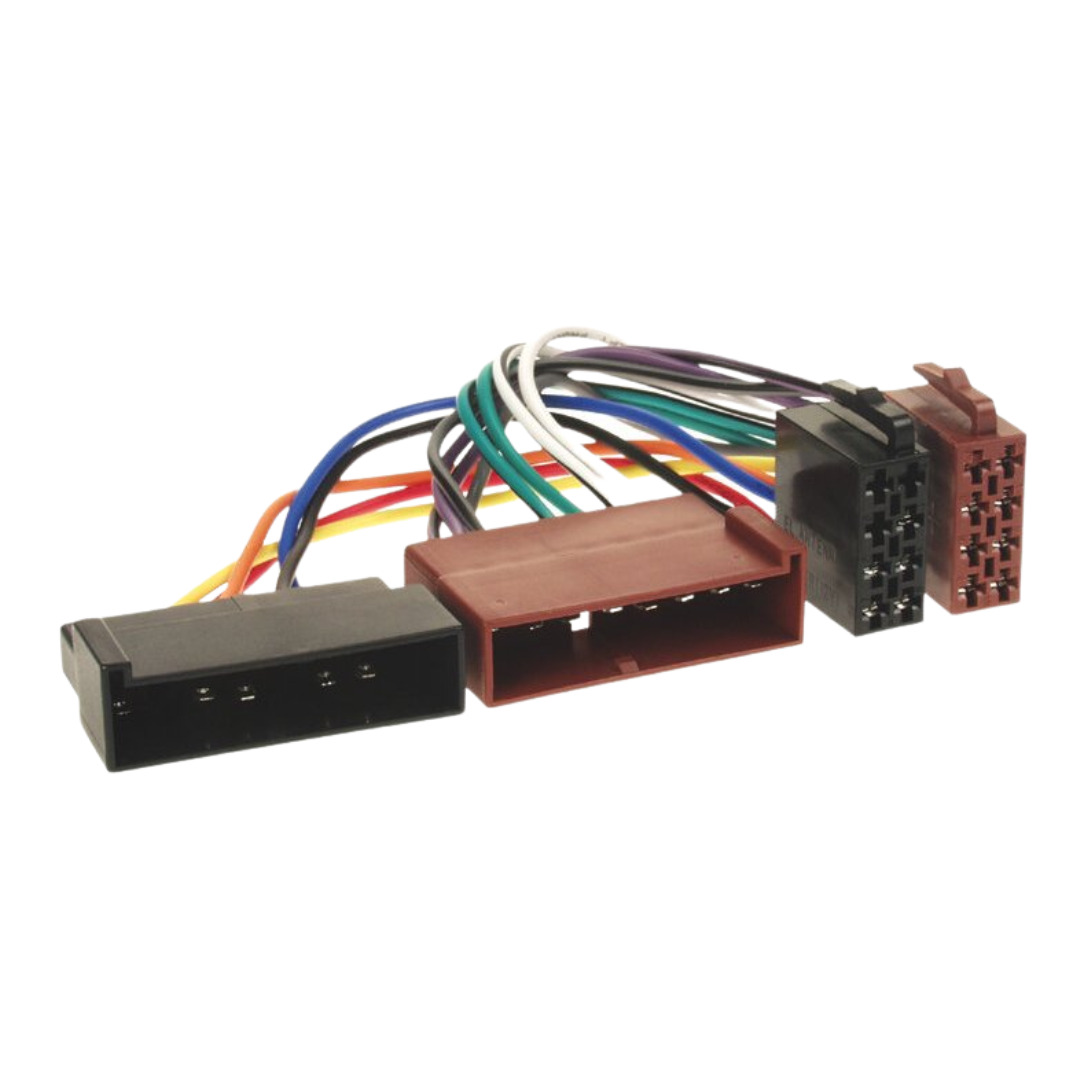
- ISO lead (ISO-FOR-001)
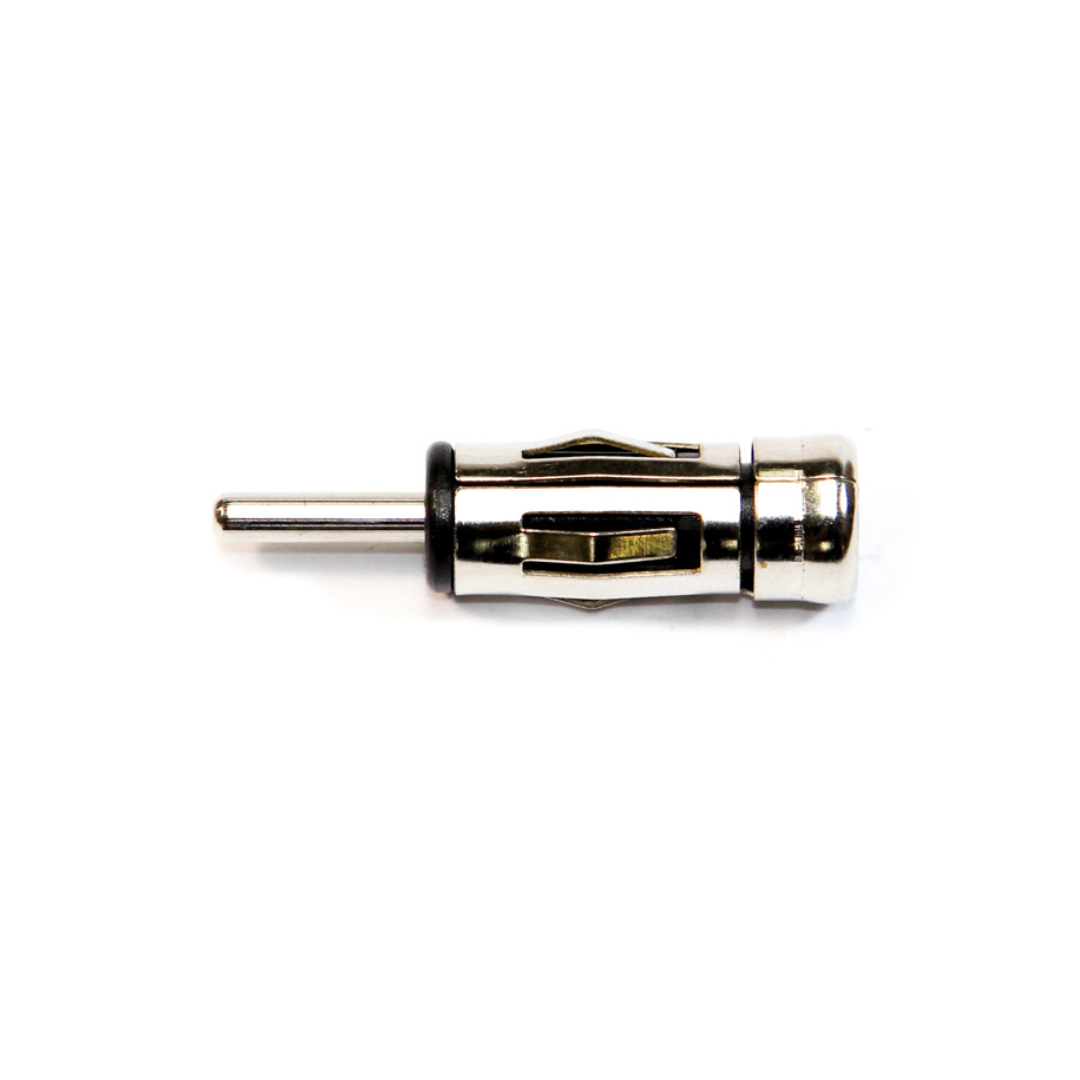
- FM antenna adapter (ANT-ISO)
- Radio Removal Keys (KEY-001)
Fitting Kit:
- Full single DIN radio fitting kit (RFK-FOR-001)
Optional Parts:
- DAB windscreen antenna (ANT-DAB1)
- DAB splitter (ANT-SPLIT)
The two most common original sets are the 3000RDS and the 5000RDS which are very similar to change. The only difference is that the 5000RDS will likely have an extra green connector in the back for a CD changer. This connection can be ignored when changing the radio.
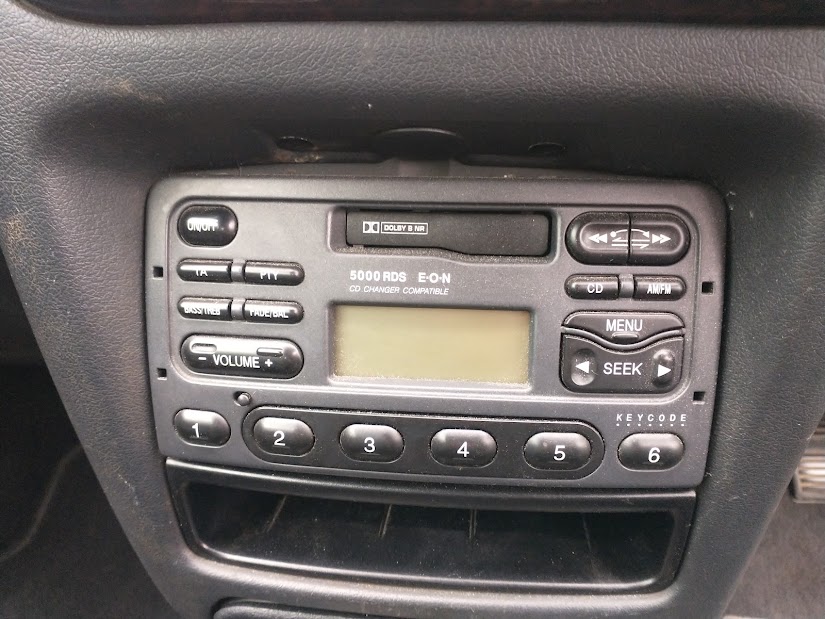
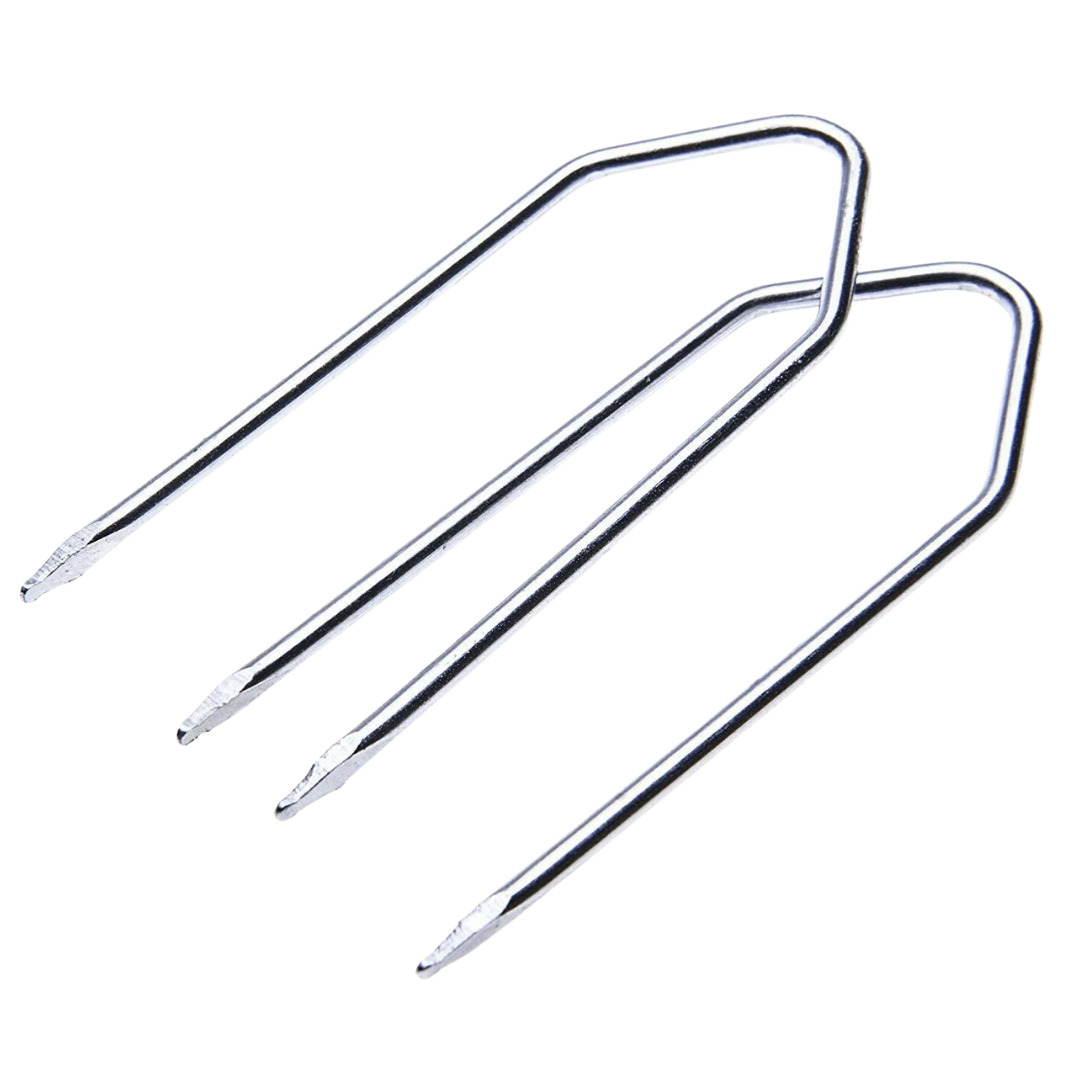

Both are removed in the same way by using a pair of ISO style radio release keys slotted into the 4 holes on the outer edge of the radio to push the clips holding it in free and slide the set out. They can be bought separately here or come for free with the complete fitting kit available here.
NOTE: These original sets are coded, so if you want to refit it in the future then make sure you keep the original code with it.
As far as we are aware the Escort was never offered with controls for the radio at the steering wheel, either on buttons on the wheel or on a paddle behind. If you have a Ford Escort with this feature then please let us know!
With this in mind only a more basic ISO lead, an adapter to retain the original FM antenna and a fascia panel is required.
If you are fitting a single DIN radio then this is fairly straight forward, the fascia panel can be found here. It uses the cage that comes with the aftermarket radio to hold the radio secure and comes with a hook type piece which can be attached to the back of the new radio with a screw to securely clip the new radio into the same mounting point as the original at the back of the dash. Not all new radios will have the mounting point for this, if your radio is short and mechless (doesn’t have a CD player) then it may be light enough to be held up by the cage alone. If not then you may need to fabricate a more substantial radio fixing bracket to hold it up inside the dashboard.
The ISO leads are a type shared by multiple Ford vehicles throughout the 1990s and early 2000s. One connector is for the speakers, the other is for powering the set. They are available here.
Finally the FM antenna adapter which can be found here.
All these parts come in the complete fitting kit available here which also includes the keys to remove the original radio.
If you want to change to a double DIN radio then then you will need a fascia for a double DIN set instead. Bear in mind that the original radio is very slightly shorter than double DIN size so if you want to fit one of these sets you will need to very carefully trim the original radio aperture with a dremel or other multi-tool for the new radio to fit. This is not a job to be done in a hurry.
The fascia panel is two small brackets that need to be screwed to the side of the new radio. There are multiple screw holes on the brackets so there should be the right fitting for your radio. The double DIN fascia brackets are available here.
With the fascia brackets fitted to the sides of the radio, the ISO leads and antenna adapter fitted the radio can be pushed into the dashboard and the brackets will clip into place locking the radio into the dashboard. Test the radio before inserting it into the dashboard as it is very difficult to remove once fitted.
Make sure any required DAB antennas, microphones, USB cables or other required cables are attached to the back of the radio before it is fitted into the dashboard.
Notes on fitting radio with DAB:
If fitting a radio with DAB, you will either need a new DAB antenna or if the original antenna is in good condition then a DAB splitter can be used.
The most common and cheapest DAB antenna is fitted to the windscreen. We have these available here. The reception of these antennas is good where DAB reception is strong but outside of cities there will be large areas with no reception.
An alternative is a DAB splitter which uses the original FM antenna and amplifies it to work with FM or DAB. Assuming the original FM antenna is in good condition then it will give much better reception than a windscreen antenna. These have an inbuilt signal amplifier that needs powering from the fusebox from a fuse that is only powered when the cars ignition is on. A DAB splitter is available here.
An FM antenna adapter will still be required if using either of these options.
Changing the speakers:
Parts required
- Front speaker adapter panels (SPR-FOR-001)
- Speaker adapter cables (SPL-FOR-001)
- Replacement speaker grills (optional) (SPG-FOR-001)
The original speakers are in the front doors and in either the rear quarters or next to the parcel shelf depending on which bodystyle you have. Very basic cars may only have front speakers as standard.
The front door speakers can be accessed by removing the door cards which are held on by a series of small phillips head screws around the outside edge and three behind small plastic trim covers, one behind the door handle, one in the base of the door pull and one at the top corner of the door bin.
The front doors have the 120mm main woofer and a smaller tweeter separated but in a panel right next to each other. This isn’t ideal for sound quality and especially if fitting a new head unit you will find that the old speakers are probably past their sell by date.


We think the best route is fitting a pair of 165mm (6.5”) coaxial speakers to give maximum oomph to your music with the minimal outlay and difficulty.
We have adapter panels to fit 165mm speakers to a Ford Escort available here. These use the original screws to mount onto the doors in the original spots.
Many cars will have had their speaker grills damaged at some point in the last 25 years, we also have replacements available for these here to give the look of your interior a lift.
The original speaker connectors are quite a basic 2 pin type found on many Fords of the era. We have adapter cables available here so that you can fit your new speakers without cutting any original wiring.
The rear speakers on the cabriolet are in behind the rear quarter panels, next to the back seats, and use the same adapter panels and connectors to replace.
On all other body styles, the rear speakers are 4”x 6” and under the panels next to the parcel shelf. These are a little more difficult to replace due to their unusual size and that the originals are attached with metal folding tabs rather than screws and there are no adapter panels available. The adapter cables are the same as the front and available here.

Changing these would require a new set of 4” x 6” speakers which are somewhat rare but are available. These would then need to be screwed to the original panels underneath the speaker covers. We only have the cables available for this so this will require a little more work and is not plug and play.
0 Comments